REVIEW · AMSTERDAM
Amsterdam: Make your cheese next to De Hallen
Book on GetYourGuide →Operated by De Kaasserie · Bookable on GetYourGuide
Cheese has a way of turning a skill into confidence. In this Amsterdam workshop at De Kaasserie, you learn the two basic ways milk can coagulate, make two cheeses from supermarket milk, and end with a tasting that shows what changes the texture. The one thing to think about is that it is not suitable for people with lactose intolerance, and it is also restricted to ages 16+.
I like how practical this is. You get a short intro presentation, then hands-on time making an acid-coagulated cheese and a rennet-coagulated cheese, with chances to add spices and herbs, all in a small group limited to 10. It costs $135 for three hours, but the price includes materials plus a take-home pack with rennet and calcium, so you are not just watching.
In This Review
- Key takeaways before you go
- De Kaasserie by De Hallen: an easy Amsterdam base for a craft day
- What happens when you arrive: tea, intro, and the two coagulation types
- The acid-coagulated cheese: learning freshness at the source
- The rennet-coagulated cheese: the method behind aged cheese
- Spices, herbs, and the tasting that makes it stick
- The take-home kit: why this workshop is worth more than one meal
- Price and value: what $135 buys in real terms
- Who this workshop is for, and who should skip it
- Tips to make the most of the 3-hour format
- Should you book Make your cheese next to De Hallen?
- FAQ
- How long is the cheese-making workshop?
- Where do I meet for the activity?
- What kinds of cheese will I make?
- How much cheese do I get to take home?
- What supplies are included to take home?
- What drinks are included during the workshop?
- What is the group size?
- Is this workshop suitable for lactose intolerance or children?
Key takeaways before you go
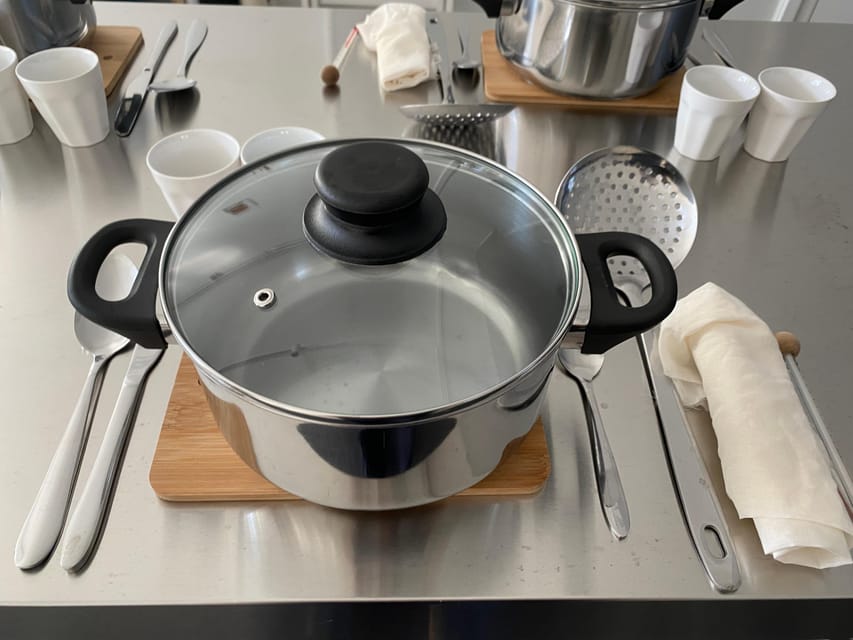
Two coagulation methods, side by side: acid-coagulated and rennet-coagulated cheese in one session.
Hands-on, not a lecture: you use two one-liter milk cartons and form two cheese pieces.
Flavor experiments built in: add herbs and spices and learn how personal choices affect the result.
Tasting with fresh and pressed cheeses: you finish by sampling what you made, not just carrying it home.
Take-home kit for continuing: you leave with two cheeses plus cloth, rennet, calcium, and recipes by email.
Small group energy: limited to 10 participants, with an instructor who teaches in several languages.
De Kaasserie by De Hallen: an easy Amsterdam base for a craft day
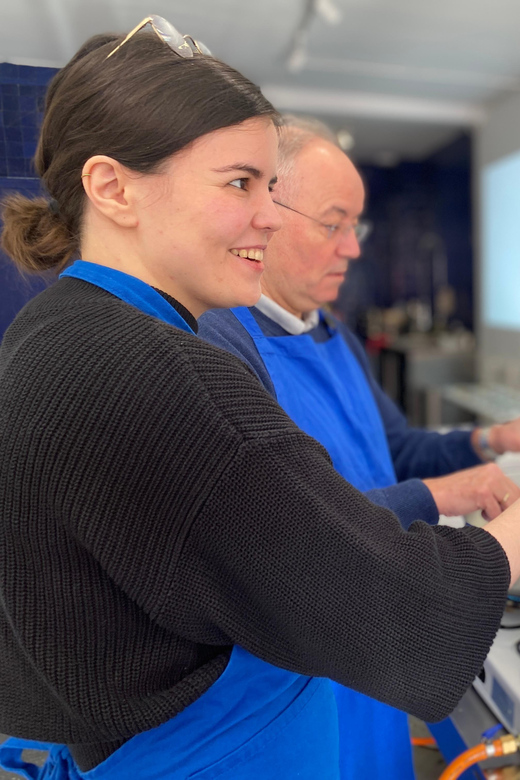
This workshop happens at De Kaasserie, near De Hallen, which is one of those areas in Amsterdam where you can tack on extra time before or after you learn your new skill. The setting matters, because you want a place where you can focus without needing to sprint across town between steps.
The session is built for a small group, capped at 10 people. That size is a sweet spot for questions, for getting your hands on the process, and for learning the why behind what you do with the milk. If you like food experiences that feel like a real class, this works.
You can also read our reviews of more tours and experiences in Amsterdam


What happens when you arrive: tea, intro, and the two coagulation types
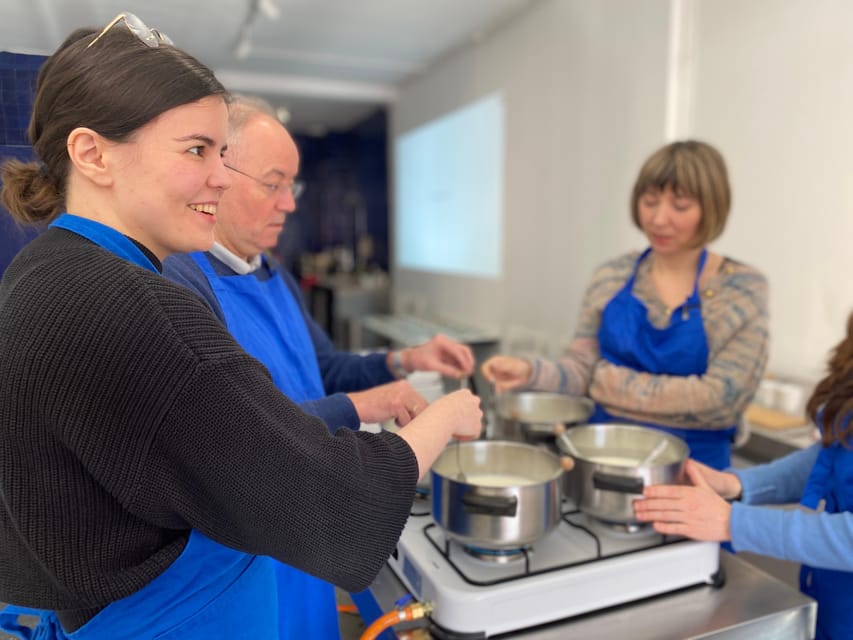
You meet at De Kaasserie and once everyone arrives, the instructor begins with a presentation introducing the workshop and the basics you’ll use. The intro includes two fundamental approaches to coagulating milk. Understanding that part pays off later, because it explains why some cheeses are aimed at fresh eating while others are the starting point for aging.
Right away, the instructor helps the group get set in a comfortable rhythm. In at least one session, people introduced themselves early, which makes it easier to relax and ask questions once the work begins. The instructor also offers instruction in English, Spanish, French, or Dutch, so you should be able to follow along comfortably.
Then you move from theory into action with a very clear plan: you will work with one liter of supermarket milk to make an acid-coagulated cheese, and another liter to make a rennet-coagulated cheese. Two milk cartons become two cheese pieces.
The acid-coagulated cheese: learning freshness at the source
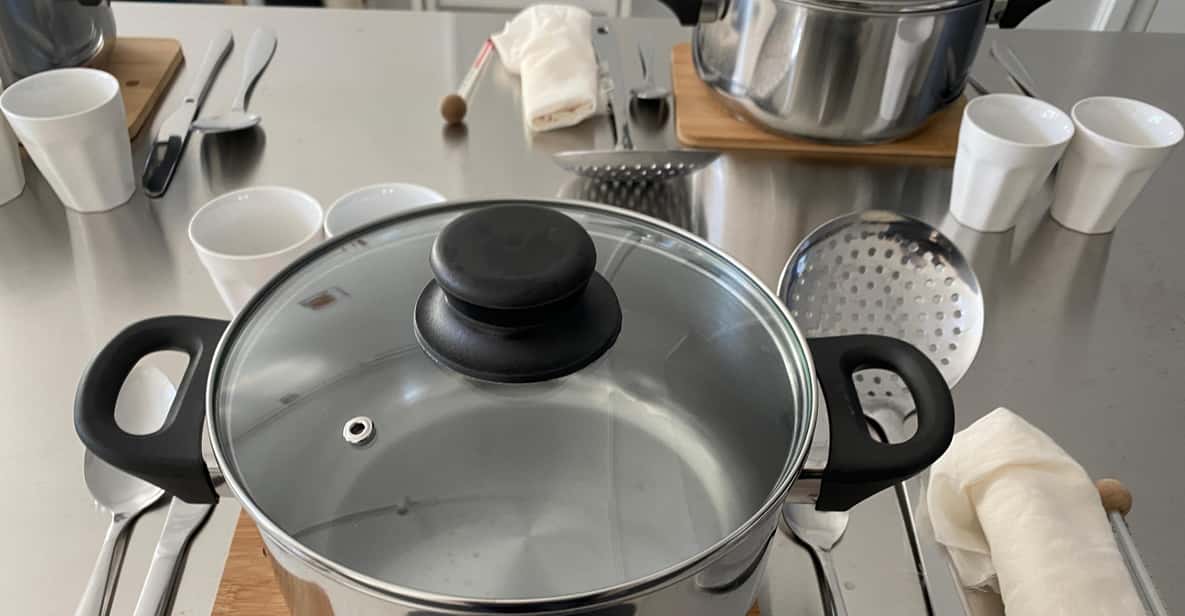
The acid-coagulated side of the workshop is your gateway to quick, fresh results. You are using a liter of supermarket milk, then applying the acid coagulation method the instructor teaches, and forming a fresh cheese from that batch.
What I love here is that you learn the basic principle without turning it into a chemistry exam. Acid coagulation is one of those concepts that sounds abstract until you see the curd forming and understand how the milk changes. Even if you’ve never made anything like this, the process becomes tangible fast.
You also get to experiment by adding spices and herbs. That matters because you start thinking of cheese as something you can personalize, not just something you buy. This is the kind of choice you’ll want to recreate at home, and it gives you immediate feedback on how flavor additions sit in the curd.
The rennet-coagulated cheese: the method behind aged cheese
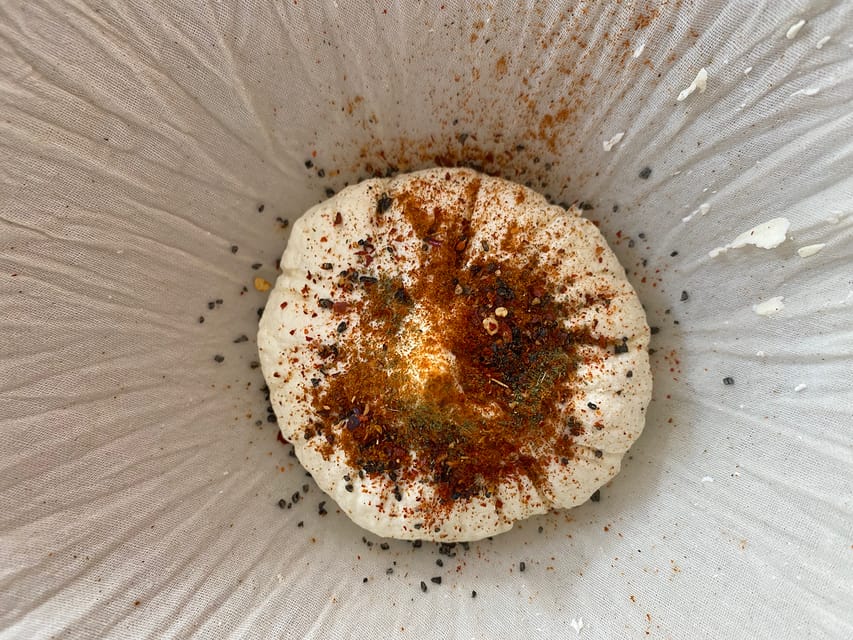
The second batch uses the rennet coagulation procedure, which the workshop specifically frames as the approach used to make aged cheese. You make your rennet-coagulated cheese fresh in the workshop, but you learn the procedure that becomes the foundation for longer, more complex projects later.
This is where the class feels especially useful for people who want to keep going after the day ends. If you’ve ever wondered how cheesemakers get to aged varieties, this workshop gives you the first steps in a way that makes sense. You are not just making an end product. You are learning the workflow.
At the end, you also get a tasting that includes what your fresh cheese looks like and what changes when it is pressed. That comparison helps you connect technique to texture, instead of memorizing a single outcome.
Spices, herbs, and the tasting that makes it stick
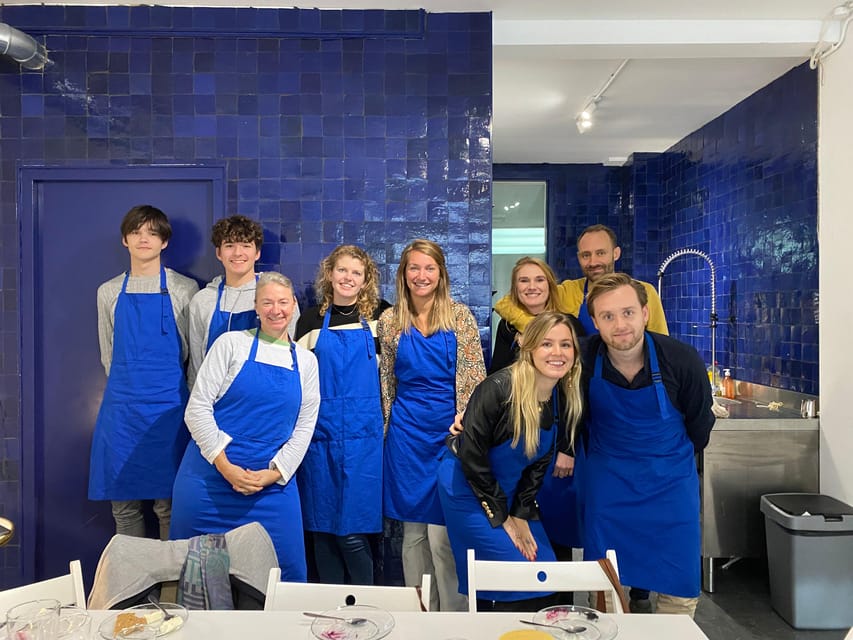
The workshop builds in a simple but powerful lesson: you can change your cheese with your own choices. The instructor encourages you to add spices and herbs while you are making the curd. That gives you a practical understanding of flavor, not just a theoretical one.
After both cheeses are ready, the session finishes with a tasting of the homemade cheeses. You’ll sample both fresh and pressed styles that come out of the two methods you practiced. This is the moment where the class becomes memorable, because you get to taste your own work while it’s still in your mind.
Also, tasting together in a small group makes it easier to notice the differences. You can pick up on how one method trends toward one texture, and how pressing shifts the result. Even if you don’t plan to become a full-time cheesemaker, the ability to recognize these changes is a fun takeaway.


The take-home kit: why this workshop is worth more than one meal
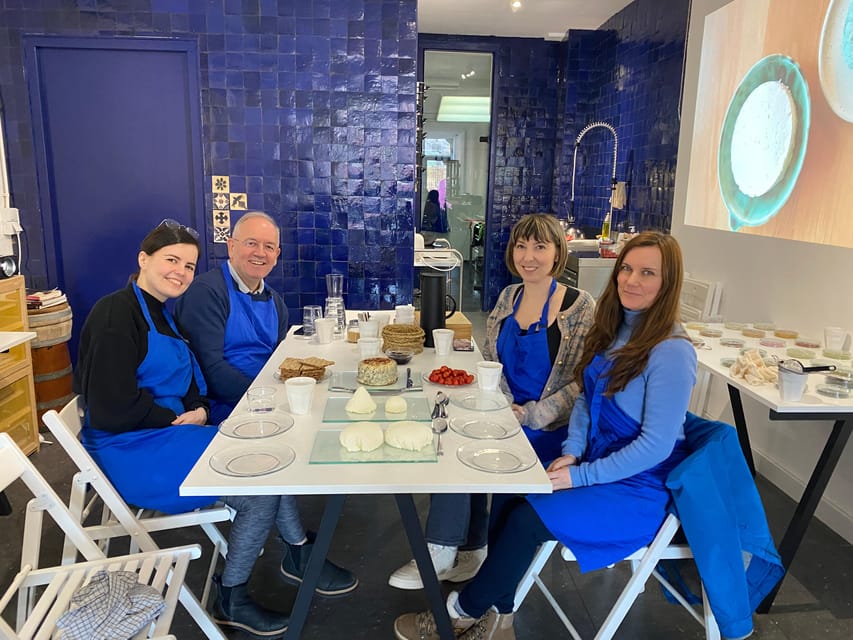
You do not leave empty-handed. You take home two cheeses, plus a cheese cloth and the key starter supplies: rennet and calcium. On top of that, you receive recipes via email so you can repeat the process without needing to reinvent your steps from memory.
That take-home kit is a big part of the value. A lot of workshops give you a nice photo and a short-lived souvenir. Here, the supplies and recipes let you keep the skill alive. If you’ve ever bought a food gadget and then never used it again, this feels designed to prevent that.
I also like that the recipes arrive by email. That makes it easier to follow at home, where you have your own tools, your own fridge timing, and your own pace. It turns the workshop into a starting point, not just an activity.
Price and value: what $135 buys in real terms
$135 for three hours can sound steep until you look at what is included. You get instruction, tea, hands-on cheesemaking with materials (two one-liter milk batches), a tasting, and you leave with your own cheese plus rennet, calcium, and cloth.
The small group size, limited to 10 participants, also matters. In a bigger class, it is harder for an instructor to guide you as you work with curds, timing, and technique. Here, the format supports questions and correction, which is especially important when you are learning the coagulation methods for the first time.
One practical drawback is also worth flagging: no coffee or alcoholic beverages are included. If you prefer those with your class-day break, you’ll want to plan to pick something up nearby yourself.
Who this workshop is for, and who should skip it
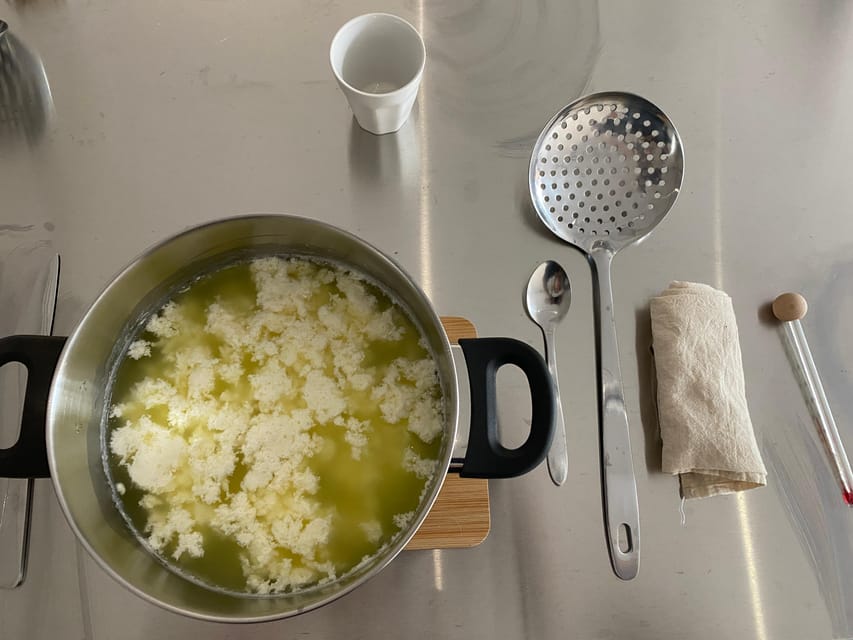
This is a great fit if you enjoy hands-on food learning and want a practical skill you can repeat. It’s also a nice match for travelers who like craft-based experiences, because cheesemaking is both simple in concept and surprisingly technical in detail.
I’d especially recommend it if you:
- like experimenting with herbs and spices
- want to understand the difference between fresh cheese-making and the approach that leads to aged cheese
- enjoy small group classes where you can ask direct questions
On the other hand, it is not suitable for children under 16, people over 95, and people with lactose intolerance. If any of those apply, you’ll want to choose a different kind of food experience that fits your needs.
Tips to make the most of the 3-hour format
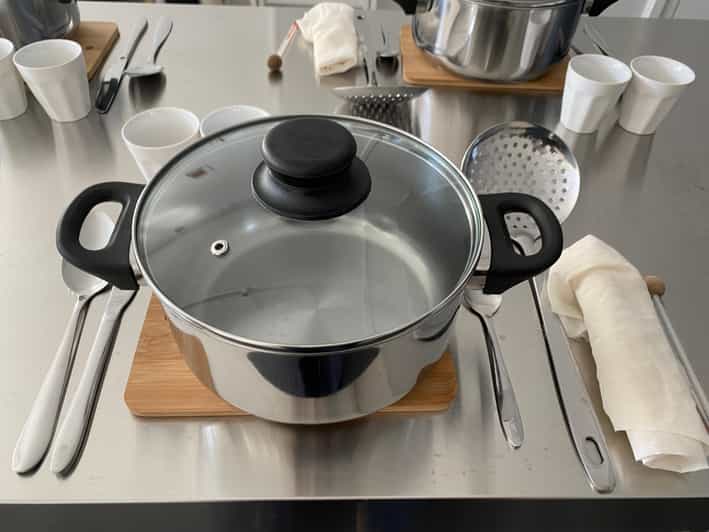
Because the session moves fast, your best strategy is to stay curious and ask questions early. When you are learning two coagulation methods back to back, you will remember more if you track what you see: curd formation, texture changes, and how pressing affects the result.
If you want to recreate your favorite version at home, pay attention to your own spice/herb choices. Pick one you love most during tasting, then plan to repeat it later using the recipes you get by email.
Finally, treat the day like a class. Wear something you don’t mind getting mildly messy. Cheesemaking isn’t usually chaotic, but working with curds means you’ll want comfort over good clothes.
Should you book Make your cheese next to De Hallen?
If you want a memorable Amsterdam experience that goes beyond eating, I think this workshop is a strong choice. You’ll learn the core logic behind acid vs rennet coagulation, make two cheeses with your own hands, and you leave with enough supplies to continue at home. The small group size makes it feel personal, and the take-home kit turns it into more than a three-hour stop.
I’d only hold off if lactose intolerance rules it out for you, or if you’re looking for something more relaxed and purely observational. This is active learning.
If you’re the type of person who wants to leave with a skill and supplies, not just a snack, book it.
FAQ
How long is the cheese-making workshop?
The workshop lasts 3 hours.
Where do I meet for the activity?
You meet at De Kaasserie. The exact meeting point may vary depending on the option booked.
What kinds of cheese will I make?
You’ll make two kinds of cheese: one acid-coagulated cheese and one rennet-coagulated cheese.
How much cheese do I get to take home?
You take home two cheeses that you made during the workshop.
What supplies are included to take home?
You receive a cheese cloth, rennet, calcium, and recipes by email.
What drinks are included during the workshop?
Tea is included. No coffee or alcoholic beverages are included.
What is the group size?
It’s a small group limited to 10 participants.
Is this workshop suitable for lactose intolerance or children?
No, it is not suitable for people with lactose intolerance, and children under 16 are not suitable.
You Might Also Enjoy

More Cheese in Amsterdam
- Zaanse Schans Windmills, Clogs and Dutch Cheese Small-Group Tour from Amsterdam
★ 4.5 · 2,369 reviews