REVIEW · AMSTERDAM
Amsterdam City Center Guided Walking Tour – 12 guests 2,5h
Book on GetYourGuide →Operated by Babylon Tours Amsterdam · Bookable on GetYourGuide
Shoes on. Amsterdam makes sense fast. This 2.5-hour orientation walk threads together canals, bridges, and the city center’s big-name sights with a local-style explanation of how Amsterdam grew.
What I like most is the focus: you’re not bouncing randomly. You get to find your bearings quickly, then learn the story of the city as you move—starting with Amsterdam’s link to the Amstel River and its mercantile era.
One thing to plan for: you’re on foot for a solid stretch of time. It’s not for people who want a sit-down tour, and it’s also listed as not suitable for wheelchair users.
In This Review
- Key highlights you’ll actually feel on the walk
- Why this Amsterdam city-center walk is such good value
- Meeting Point: how to start without stress
- The walk’s main story: from St Nicholas to Dam Square
- St Nicholas, Weeping Tower, Zeedijk: the center’s quick orientation phase
- Ons’ Lieve Heer op Solder and Oude Kerk: churches as wayfinding
- Nieuwmarkt Square, De Waag, and Het Trippenhuis: market energy meets merchant power
- Jewish Quarter and Rembrandthuis: adding neighborhood texture
- Opera and Zuiderkerk, then the turn toward the Amstel
- Magere Brug, Blauwbrug, and the Begijnhof: bridges and calm
- Amsterdam Museum and Prinsengracht: shifting into Canal Belt mode
- Dam Square finale: Royal Palace and Nieuwe Kirk in one stop
- Monique’s Q&A style: what you should do during the tour
- Who this walking tour fits best
- Should you book this Amsterdam City Center Guided Walking Tour?
- FAQ
- How long is the Amsterdam City Center Guided Walking Tour?
- How much does the tour cost?
- Where do I meet the guide?
- What is included in the price?
- Are food and drinks included?
- What languages are available?
- Is the tour wheelchair accessible?
- Are luggage or large bags allowed?
- What should I bring?
Key highlights you’ll actually feel on the walk
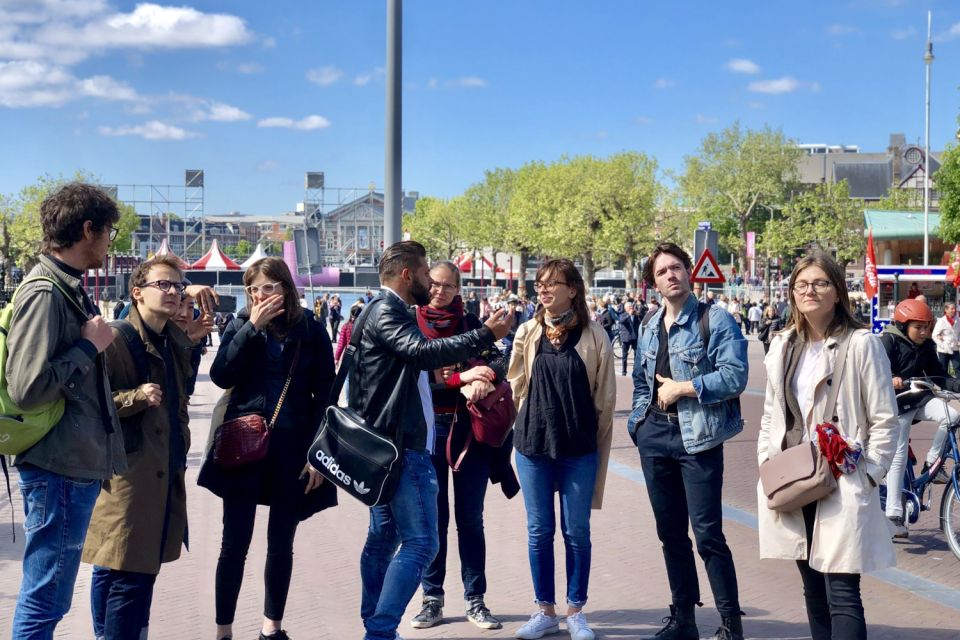
- Private-guide pacing (and a small group feel) that keeps the walk from turning into chaos
- Orientation around the Canal Belt so you understand where things sit in relation to each other
- Dam Square landmarks like the Royal Palace and Nieuwe Kirk in one go
- Bridge-and-canal moments with stops at Magere Brug and Blauwbrug Bridge
- Little-known side stops such as the Begijnhof courtyard area and the tree-lined, tucked-away feel
- A question-friendly guide, with Monique specifically praised for answering lots of different topics clearly
Why this Amsterdam city-center walk is such good value
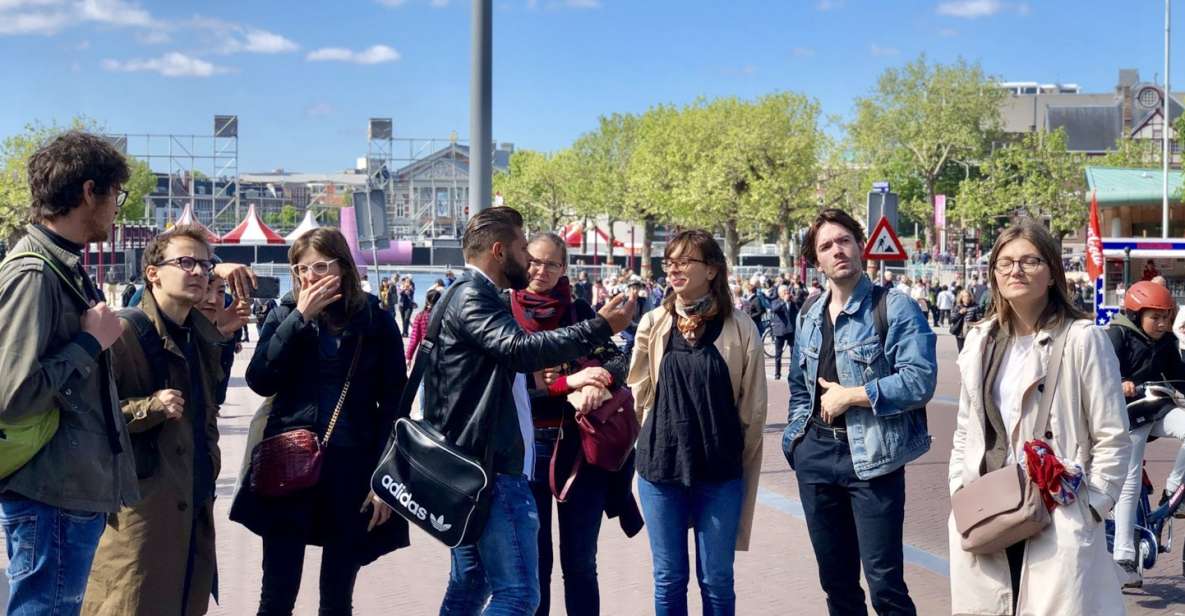
At $61 per person for a 2.5-hour guided walk, you’re paying mainly for something you can’t easily buy on your own: a smart route plus a guide who tells you what to notice while you’re there. This kind of tour is especially useful in Amsterdam, where the map can look simple until you start walking and realize how canals reshape the streets.
I also like that it’s designed to cut through the early confusion. The route is built around the historic center and the Canal Belt area, so you don’t just see postcard spots—you learn the basic layout: how the river, canals, and bridges connect everything. That’s the difference between collecting photos and actually understanding where to go next.
The best part is that the guide isn’t only pointing at monuments. You get context on Amsterdam’s mercantile history and how the city evolved from the Amstel River back in the 12th century. Then, along the way, the guide adds practical insider guidance—how to spend your time after the tour, what’s worth slowing down for, and what’s better as a later stop when you have more energy.
The one practical trade-off: it’s a walk, not a car tour. If you’re hoping for minimal steps or lots of sitting, this isn’t that. Wear comfortable, weather-appropriate clothing, and keep your day flexible enough to enjoy the rest of Amsterdam after your legs get the basic orientation.
You can also read our reviews of more walking tours in Amsterdam
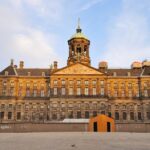
Meeting Point: how to start without stress
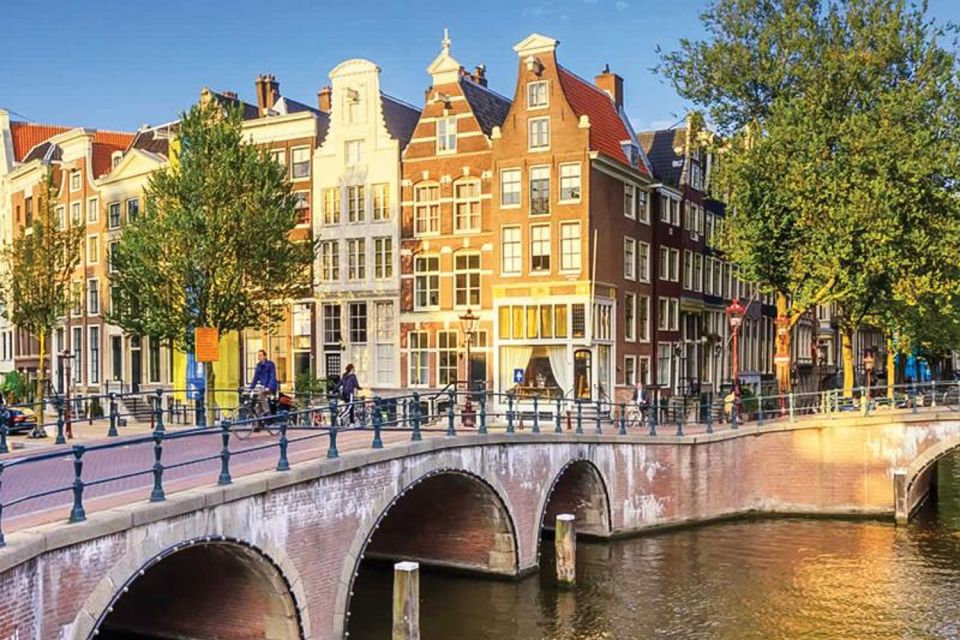
You meet your guide outside the entrance of St Nicholas Church on the opposite side of Central Station. The walk begins around Prins Hendrikkade 73, so expect the first minutes to be about finding your bearings and settling into a steady pace.
Two tips that matter:
- Bring passport or an ID card.
- Leave space in your plan for the fact that luggage or large bags aren’t allowed.
If anything goes wrong on timing, the operator advises urgent contact by calling or texting your guide, using the details sent to your email by the morning of the tour (including a reminder to check spam folders). That small note is worth taking seriously in a city where meeting points can be busy.
Language coverage is wide—Portuguese, Spanish, Dutch, French, English, and Italian—so you should be able to match your language comfort level. If you have a question about what you should do later in Amsterdam, having a guide who can answer clearly matters more than you’d think.
The walk’s main story: from St Nicholas to Dam Square
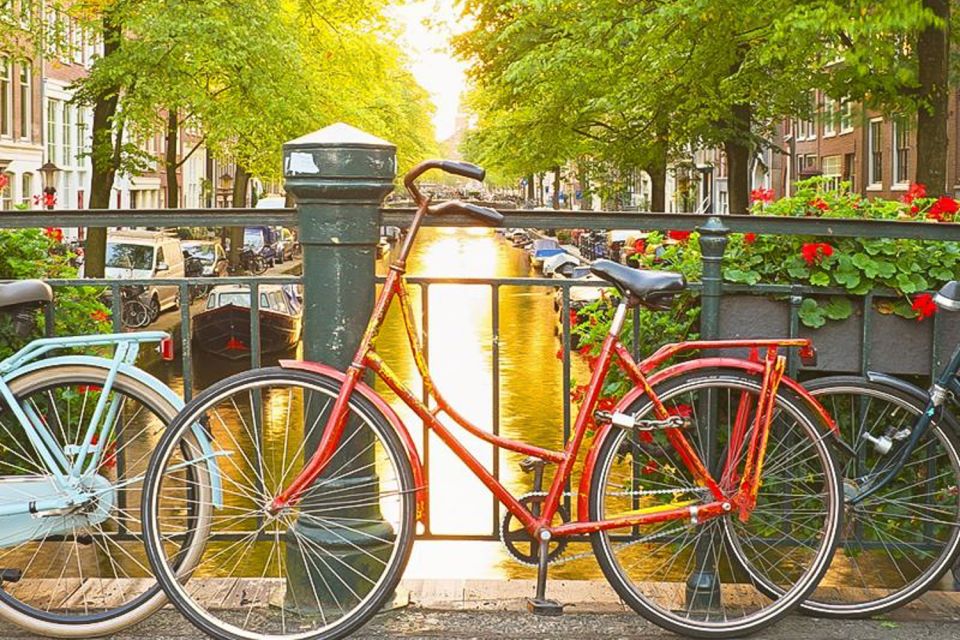
This route is laid out as a steady “city understanding” loop. You start in the central area, move through classic church and square stops, cross into neighborhoods that feel different from the riverfront postcard zone, then re-emerge into the Canal Belt feel and finish with the official grand center at Dam Square.
Along the way, you’ll keep hitting places that give the city its character:
- churches and squares that set the tone of the historic core
- markets and older lanes that show everyday Amsterdam texture
- canal moments where the bridges and waterways do the navigation for you
- a courtyard stop that changes the mood from street bustle to quieter stillness
Your guide’s job is to connect the dots as you go—especially on the mercantile angle and the way the city grew around water.
St Nicholas, Weeping Tower, Zeedijk: the center’s quick orientation phase
The tour begins with short segments that reset your brain: you get photo stops and guided explanation without losing momentum.
Here’s what you’ll hit early:
Basilica of Saint Nicholas (photo stop + visit)
This is your first “anchor.” It sets the historic center tone fast. It’s also right near your meeting point, so you start with something solid before you spread out.
Weeping Tower (photo stop + guided tour)
This is the kind of stop that helps with orientation because it gives you another recognizable landmark early, so later when you look around, you’re not starting from zero.
Zeedijk Street (photo stop + guided tour)
Zeedijk is included as part of the route’s texture shift. The tour description also says you’ll venture into China Town, and this is the sort of area where that vibe can show up naturally as you walk. Practically, it’s a good point to notice how Amsterdam changes block by block.
Even if you don’t go deep into museums right away, these early stops teach you how the city moves: where the streets funnel toward the canals, how you’ll cross water soon, and what to keep an eye out for.
Ons’ Lieve Heer op Solder and Oude Kerk: churches as wayfinding
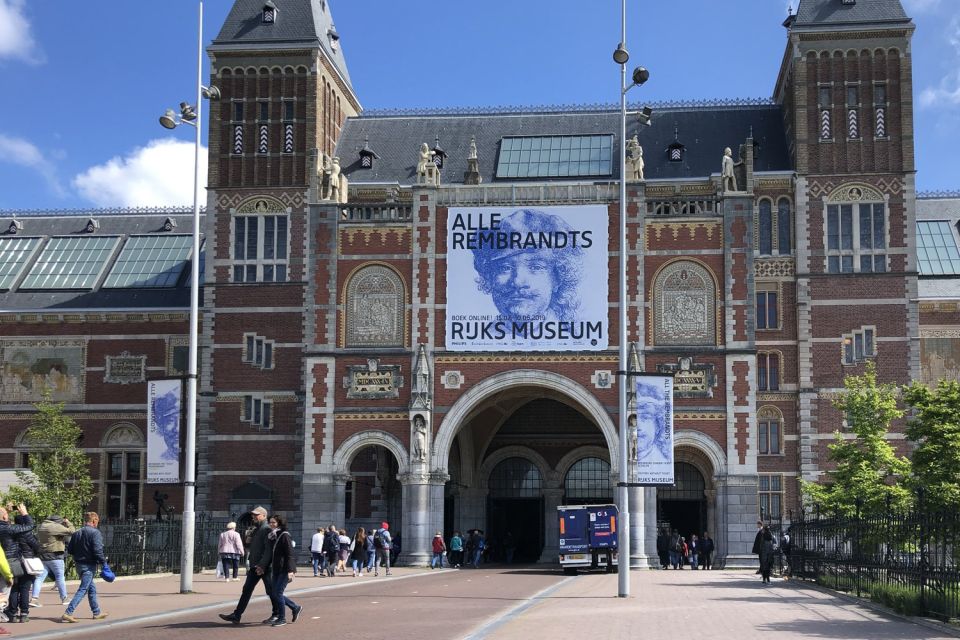
Then the walk turns toward two famous stops that do more than just look impressive.
Ons’ Lieve Heer op Solder (photo stop + visit + guided tour)
The tour specifically includes it, and the name alone signals why it’s memorable. I like this kind of stop in orientation tours because it’s unusual enough that you remember it later when you’re planning where to go.
Oude Kerk (photo stop + visit + guided tour)
After a more quirky stop, Oude Kerk gives you a clearer “historic core” baseline. Even without reading every detail, your guide’s explanation helps you understand why this area feels like the old center rather than a modern shopping strip.
If you’re deciding when to do indoor places, this is a smart phase: you’re building structure early, so later you can choose whether you want to spend extra time indoors when you’re fresher.
You can also read our reviews of more guided tours in Amsterdam




Nieuwmarkt Square, De Waag, and Het Trippenhuis: market energy meets merchant power
Next you move into a part of town that fits the tour’s mercantile theme well.
Nieuwmarkt Square (photo stop + visit + guided tour)
Squares matter in Amsterdam. They act like decision points in your mental map. After you’ve been walked here with context, it gets easier to pick your next direction later.
De Waag Restaurant (photo stop + visit + guided tour)
This is included as a named stop along the walk. Even if you aren’t eating right then, it’s useful as a landmark you can return to.
Het Trippenhuis (photo stop + visit + guided tour)
This stop connects directly to the idea of Amsterdam’s trading wealth and the kind of merchant architecture you’ll keep hearing about. The tour highlights also mention learning about leaning merchant houses, so this part of the route is where you’re more likely to start noticing that style of build and why it’s a thing here.
At this stage, the walk is doing something smart: it links recognizable places (squares and named buildings) to the story of commerce and canal-era development.
Jewish Quarter and Rembrandthuis: adding neighborhood texture
This is where the tour shifts from “center landmarks” to “neighborhood feel,” without dropping the orientation purpose.
Jewish Quarter, Amsterdam (photo stop + visit + guided tour)
You get a stop here with guided context. This is valuable because it prevents the walk from becoming only an itinerary of famous monuments. You start to feel the city as layers, not just a set of highlights.
museum Rembrandthuis (photo stop + guided tour + sightseeing)
Rembrandthuis is listed as a stop. Even when you’re not going deep into an exhibition, the guide-led conversation can help you decide whether you want to come back later for more time.
If you’re the kind of person who likes to plan the rest of your trip after one good introduction, this section is exactly that. You’re gathering names and impressions you can act on.
Opera and Zuiderkerk, then the turn toward the Amstel
Next the tour reaches a more “big institutions” stretch, and then it pivots back to water—the Amstel being the key thread in the whole story.
Dutch National Opera & Ballet (photo stop + guided tour)
This stop broadens the feel of central Amsterdam. It’s a reminder that the city is not only canals and old churches. Your guide uses it to keep the timeline and city character moving.
Zuiderkerk (photo stop + guided tour)
A church stop right after the opera stop gives you a contrast. That contrast matters when you’re learning where things are, because it helps you place the city’s major cultural nodes in relation to everything else.
Amstel (photo stop + guided tour + sightseeing)
This is big. The tour description explicitly mentions learning how the city evolved from the Amstel River. So this isn’t random sightseeing—it’s a return to the driver of Amsterdam’s shape.
When water is the focal point, the city makes more sense. Streets start to feel like access routes to canals, not just lines on a map.
Magere Brug, Blauwbrug, and the Begijnhof: bridges and calm
Now you get a classic Amsterdam payoff: bridges.
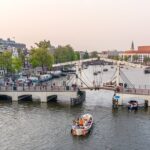
Magere Brug (photo stop + guided tour + sightseeing)
This is one of the bridge stops listed on the itinerary. Bridges are great orientation tools because they show you where crossing points are, which changes your walking decisions for the rest of the trip.
Blauwbrug Bridge (photo stop + guided tour + sightseeing)
A second bridge stop keeps the water crossings in your memory, so you can later understand routes without always following the straightest line.
Begijnhof (photo stop + guided tour + sightseeing)
Then the mood shifts. The tour description calls out private courtyards and an older inner court feel, and Begijnhof is where that’s likely to land. This is a smart stop to include because it gives you a pause from the street grid, and it’s the kind of place you remember when planning a slower afternoon later.
Amsterdam Museum and Prinsengracht: shifting into Canal Belt mode
After Begijnhof, the walk continues deeper into the Canal Belt feel, where Amsterdam’s waterways become the main event.
Amsterdam Museum (photo stop + guided tour + sightseeing)
This stop keeps the city’s layers in view. You’ll hear enough to help you decide if it’s worth a return visit when you have more time than a walking tour allows.
Prinsengracht (photo stop + guided tour + sightseeing)
The tour specifically includes Prinsengracht and mentions Westerkerk being in the Jordaan district on its banks. Prinsengracht is one of those canals that makes the layout click fast. Once you’ve walked it with guidance, you’ll understand why people keep returning to this area.
Westerkerk (photo stop + guided tour + sightseeing)
Westerkerk is another named stop and is tied to the Jordaan / Prinsengracht connection. It helps you anchor the canal stretch in your mental map.
Dam Square finale: Royal Palace and Nieuwe Kirk in one stop
The tour ends at Dam Square, which is a classic finish for anyone who wants to combine “historic center” with “official Amsterdam.”
Dam Square (photo stop + visit + guided tour)
Two major landmarks are named in the highlights: the Royal Palace and Nieuwe Kirk. The benefit of ending here is that you’re landing where a lot of later plans start—cafes, museums, tram lines, and easy routes outward.
If you like a clean finale, Dam Square works. It’s open enough that your guide can wrap up the city story, and you can then choose your next move without feeling turned around.
Monique’s Q&A style: what you should do during the tour
One review praised the guide Monique for answering lots of questions across art, history, architecture, food, and more, and for being attentive and friendly. That matters because the tour is short. In 2.5 hours, the best results come when you use the time like a conversation, not a listening session.
Here’s how you can get more value from that kind of guide interaction:
- Ask for next-step ideas based on your interests (art vs. architecture vs. food).
- During canal or merchant-house mentions, ask what you should notice that most people miss.
- If you’re unsure about how to structure the rest of your day, ask for a simple plan starting from your current location after the tour.
I especially like tours where the guide encourages questions like this. It turns sightseeing into decision-making, and that’s what saves you time later.
Who this walking tour fits best
This is a strong pick if you:
- are new to Amsterdam and want quick orientation across the historic center and Canal Belt
- want the major sights without the feeling of being herded by a huge crowd
- like being told what to notice as you walk, including merchant-house details and leaning architecture moments
- prefer small-group pacing with a private guide feel
It’s less ideal if you:
- need wheelchair accessibility (the tour notes it’s not suitable for wheelchair users, with wheelchair access available only by request)
- want a slower pace with lots of breaks
- are traveling with luggage or large bags
Also note that the activity description says it can be offered as private or semi-private (maximum 8 in semi-private). If you care about the group size feeling, that’s worth checking when you book.
Should you book this Amsterdam City Center Guided Walking Tour?
Yes, if your goal is to leave Amsterdam with a working map in your head. The route makes sense for first-timers because it teaches the city’s shape: water, bridges, canals, and the historic center in a logical sequence, plus Dam Square as a clean ending.
Skip it if you want a slow museum-heavy day or you’re not comfortable with a continuous walking format. But if you can handle 2.5 hours on your feet, this is a cost-effective way to get both structure and insider guidance—so the rest of your Amsterdam day feels more like you’re choosing, not wandering.
FAQ
How long is the Amsterdam City Center Guided Walking Tour?
It lasts 2.5 hours.
How much does the tour cost?
The price is $61 per person.
Where do I meet the guide?
Meet your guide outside the entrance of St Nicholas Church, on the opposite side of Central Station. The starting location is Prins Hendrikkade 73.
What is included in the price?
The tour includes a private guide.
Are food and drinks included?
No. Food and drinks are not included.
What languages are available?
Guides are offered in Portuguese, Spanish, Dutch, French, English, and Italian.
Is the tour wheelchair accessible?
It’s listed as not suitable for wheelchair users, and wheelchair accessible tours are only available by request only.
Are luggage or large bags allowed?
No. Luggage or large bags are not allowed.
What should I bring?
Bring passport or an ID card and wear comfortable, weather-appropriate clothes.